Showing posts with label eye of the day. Show all posts

Wednesday, February 28, 2018

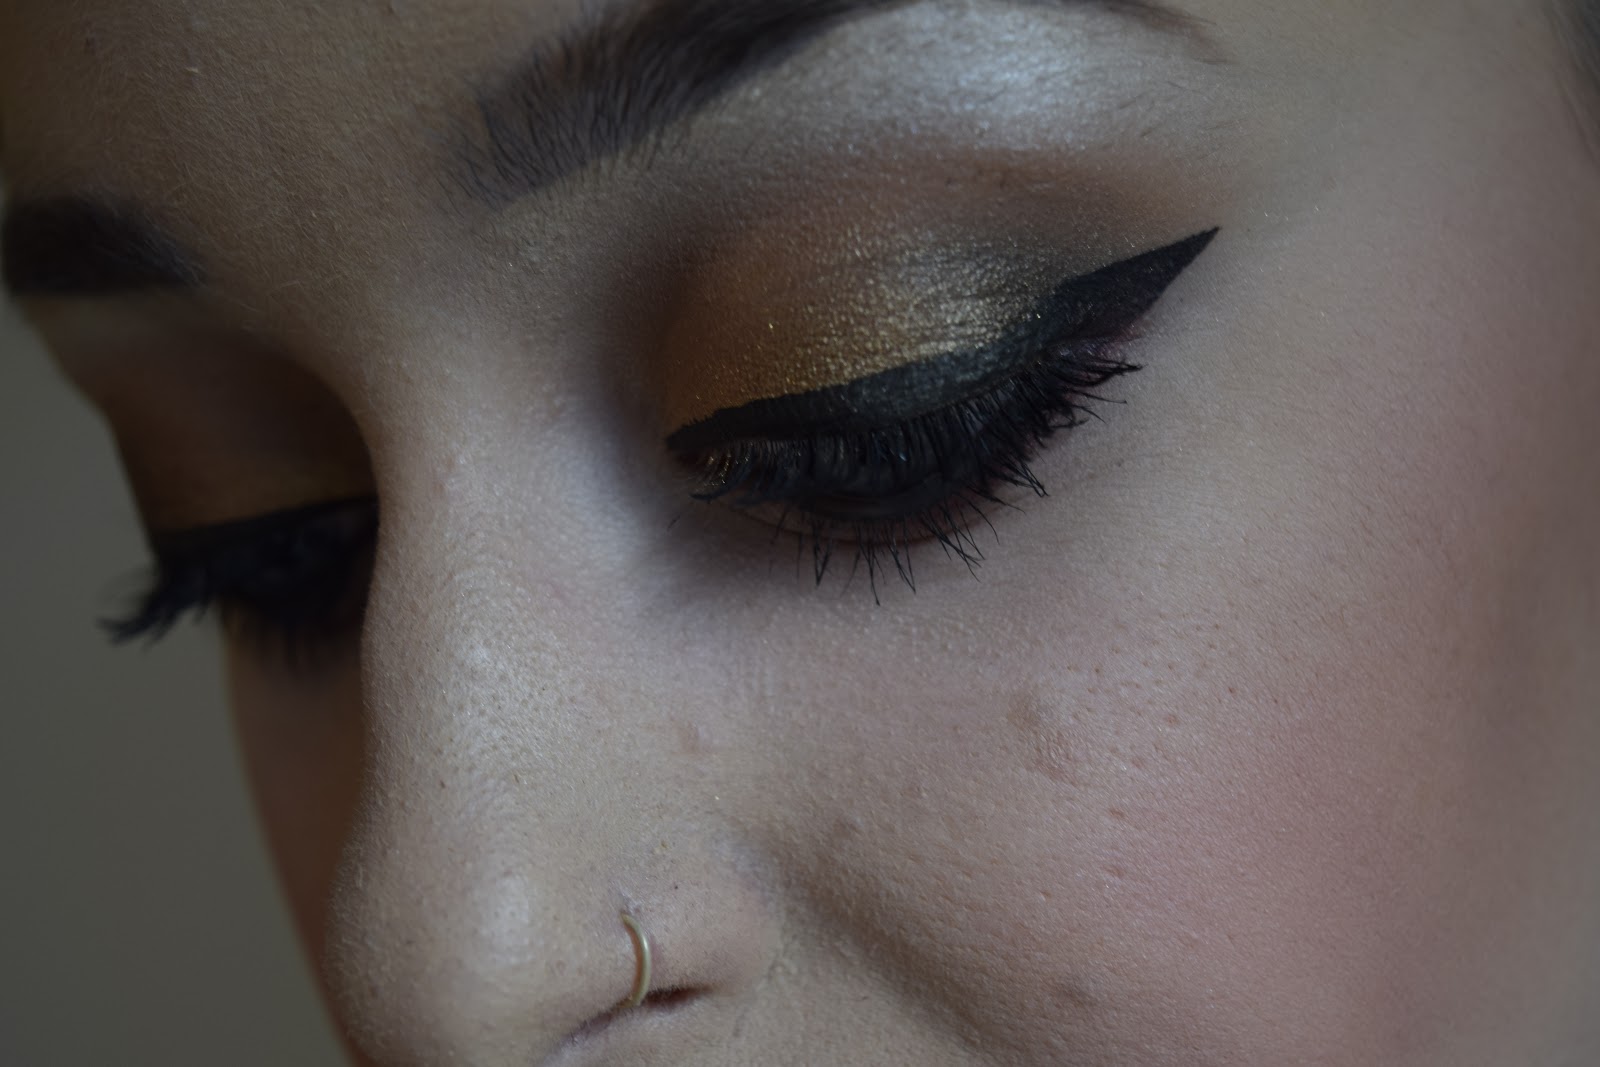
EOTD: Soft Smokes

Goodmorning everyone!
Today's look is the most fun  look I have done in a while. Even though it's not super colourful, the technique is different to what I'm used to and that's quite fun.

I used my Hudabeauty RosĂ© palette for this look. 


You don't need a lot for a look like this. Three colours is enough. I used a light, yellow colour, a taupe eyeshadow for my crease and a chocolate brown in my outer corner. Instead of using eyeliner, I smudged out the darkest eyeshadow on my upper lashline and lower lashline - and added some black eyeshadow. 


Would you like to see a tutorial on this look?


Thanks for visiting again today, see you soon!

Wednesday, December 13, 2017

EOTD: Cotton Candy

Goodmorning! How have you been? 
Today's look is a little "out of the box". It's something that I've never done before but I saw some pictures online and got inspired. For this look I've used all kinds of pink.

I used my Morphe palette (click here for the link to my review), as well as my bright pink H&M eyeshadow and to top it all off, I tried my new glitter eyeliner by NYX. 
Here are the swatches of all the products I used.


This is the look that I have created. It's actually a pretty simple make-up look, and the eyeliner gives a nice touch. Everytime you look down or everytime you blink, it's a special little detail.
I used the brightest pink in my crease and darkened up the outer V. The inner corner of my eyes is a lot lighter. Doing this makes me look more awake.
As always, I finished my look with some liner. Both upper and lower lashline are covered in some gel eyeliner - to even out the look.


Let me know what you think! 
Have a lovely day!


Thursday, December 7, 2017

EOTD: Red Halo

Goodmorning everyone! Here I am again and this time I have a bit of a special look for you!
The look that I am wearing today is a little out of my comfort zone, it's based on orange and red eyeshadows.
I have said it before on this blog and I'll say it again: red eyeshadows can be very intimidating and can make you look sick or like you've just cried in no-time.

These past few months I've started to appreciate oranges and reds a lot more.
The look that I made today is a "halo" look - this means that you have darker colours on the in- and outside of your eyelids and a lighter colour in the center.
This technique makes your eyes look bigger and brighter, which is really nice if you have small eyes.


I started by working a tan eyeshadow from Urban Decay's Naked Heat palette into my crease and blending it out.
Then, I put "Red Brick" by MAC in my crease, inner- and outer corner. This is a really bright orange, matt eyeshadow colour. Next, I darkened things up with the shimmery red "Ruddy" eyeshadow (also by MAC).

Fenty Beauty "Trophy Wife" - MAC "Ruddy" - MAC "Red Brick" - Urban Decay Naked Heat "Sauced"

Because the Fenty Beauty "Trophy Wife" highlighter is a little bit too dark for me during the wintertime, I decided to put it on the middle of my eyelid, the part that I had left blank.
I carefully blended this in with "Red Brick", going back and forth between the two colours.


After that I went in with my H&M gel eyeliner and my trusty old Essence liquid ink eyeliner. I put a little highlight by Kat Von D in my inner corner, et voilĂ !

If there are any products in this post that you are curious about, please find them below. You can simply click the link to find the review of the certain product.

Sunday, October 8, 2017

EOTD: Morph into Morphe!

Before I started blogging, I watched a lot of beauty videos on YouTube. The girls who made videos were limited (unlike the many millions of girls and boys on YouTube today).
Jaclyn Hill is amongst one of my favourite YouTubers and it's because of her that I got to know the make-up brand "Morphe".
First, I believe they made brushes only. Now they also make eyeshadow palettes. And how beautiful they are! I have shown you a couple palettes that I got recently and I'll be getting some more for sure!
 
 
Today's look is a look made with one of my Morphe palettes. It's called the 35F palette.
I used two shades of matte brown eyeshadow in my crease and some gold and shimmery greens on my lid.
On my lower lashline, I used a purple eyeshadow and a whole lot of black eyeliner. Nice and smokey! 
 

I hope you enjoyed this look. Before I go, I'd like to hear back from you: are there any things that you would like to see (more) on the blog?
Would you like some tutorials? Are you interested in Halloween looks? Fall looks? Let me know!

 
Have a lovely day!

Saturday, July 22, 2017

EOTD: Post #1000!

Goodevening everyone! How have you been doing?
I am so happy to announce that today, I'm writing post number 1000 on this blog! I have spent so much time on this blog and I have learned so much, but the most important thing is that my passion has continued to grow- and still grows every single day.
Also, not to sound too lame, but I also want to thank those of you who read my blog on a daily basis.

This look is created with the I heart Make-Up Dark Chocolate palette. You can click here to read the review on that palette. 
I went for a smokey eye withour a winged eyeliner but with a subtle eyeshadow liner. The eyeshadow shades are red/purple - a bit tricky, but lovely when the look is finished.


Read my review on the rest of the Chocolate palettes here:
*Naked Chocolate palette
*Salted Caramel palette


Thanks again for reading! I hope to still welcome you on the blog when I'm writing my 2000th post.
Have a really great day!

Saturday, July 15, 2017

EOTD: Phoenix

Goodmorning everyone!
About two months ago I got two palettes by Make-up Revolution and a lot of the looks I have been creating lately, have been created with these two palettes.

For today's look I decided to use my Flawless 2 palette. I have been crazy about the orange, pink and cranberry tones in this palette. I decided to create a phoenix inspired look using the brightest colours in this palette.


I used an orange eyeshadow in the crease and blended that out. Next, I used the two brightest, cranberry pink eyeshadows in my crease.  This way my crease pops more and the look becomes even brighter. I darkened up the outer corner by using a brown eyeshadow with a red undertone. This gives the look more depth. You can make this as intense as you want, I decided not to go too overboard with the darkest eyeshadow.

The blending of the colours is very important with this look. If you find your eyeshadows are difficult to blend, I recommend picking up a flesh coloured eyeshadow to help blend out the harsh lines. After blending, you will notice the eyeshadows are like an ombre, they fade into each other very nicely.


On  my lid I used two colours: a bright gold eyeshadow in the inner corner and a shimmery copper on the outer corner. At this point you can blend some of the darker eyeshadow into the outer corner of the lid. By doing this you create a "V" shape, which will make the eyeshadow look more put together. 

Next I grabbed a pencil brush and applied gold, copper and some brown on my lower lashline, then blended it out. 
Because red shades can make you look really sick, I made sure to apply enough eyeliner. The black eyeliner will neutralize some of the red. I applied eyeliner on both upper lashline and lower waterline.
Some mascara, and done!


I hope you enjoyed this look! 
Thanks a lot for reading and have a good one! 


Monday, July 10, 2017

EOTD: Day-to-night gold!

For the last couple of years, I have had a love affair with gold, orange, cranberry and copper eyeshadow. When I was younger, these were the eyeshadows that I - and all the other girls who were just starting out with make-up - feared.
Red shades can make you look very sick very easily, so it goes without saying that plenty of us looked as if we had a bad case of hayfever some days, hah!

Today I'll show you one of my favourite (easy) day-to-night looks. Let's go!


The first look I'm starting off with is pretty simple to achieve. A light brown eyeshadow in my crease and a little bit of a darker brown in the outer corner.
Once that is blended out, I pick the colour that I would like to apply on my eyelid. This eyeshadow colour is a gold/copper-y look. It shows up like more of a gold colour on camera, but it's more of a copper in real life.

With red shades, I always use black liquid eyeliner (most of the time top eyeliner as well as bottom eyeliner) because this will neutralize the red shades. If you're trying looks with brick reds or very vibrant shades of pink, I'd also recommend lots and lots of blending!


To turn this look into a 'night'/party look, I did a couple of things.
The first thing I did was use a darker shade of brown eyeshadow in my crease and blend this out. To accentuate the outer corner, I applied some black eyeshadow and blended this out carefully. I also re-applied my eyeliner and made the wing a tiny bit longer for a more dramatic effect.


For this look, I used my Flawless palette by Make-up Revolution, which is definitely one of my favourites right now! You can read an in depth review by clicking the link here.


Thanks for visiting again today! Go to my Instagram or Facebook page for more updates.
Have a nice day!


Sunday, July 2, 2017

EOTD: Smokey sunset

Gooooodmorning sweeties! Today's post has been one of my favourite looks in the last few weeks! It's a darker look for sure - a smokey eye using both copper, brown and a purple eyeshadow. 
I used my Flawless 2 palette by Make-up Revolution to create this smokey eye. You can click this link to take you to the review.


Here's how to make this look
(also a quick question: would you guys like to see more tutorials? I have been thinking about it a lot because it's easier for me to explain what I'm doing, while I'm doing it. I also think it would be more fun for you to watch!) :

I started by applying copper eyeshadow in my crease. I'm also going to use this colour to blend in my darker shades of brown that I applied on the outer corner for my next step. I used two shades for this next step. The lightest shade was placed in the whole crease and blended out. The darker shade was focussed more on the outer corner. This really gives a nice smokey effect and looks a little bit like a cat eye, which I love.

(click to enlarge!)

Next I applied a skintoned eyeshadow as a highlight under my browbone. The last step was to apply the deep purple eyeshadow to my lid and on my lower lashline. I only put on a very thin line of eyeliner on my upper lashline and some kohl liner on my waterline to make this look even more intense. Mascara, and done!


Here's what the full face looks like. I really enjoyed creating this look, it's quite easy to do and it looks great!


Thanks for visiting! I hope to see you soon! 

Wednesday, June 28, 2017

EOTD: experimenting

Goodmorning everybody! 
About a week ago I uploaded an 'eye of the day' called "Dory vibes" (click here to go to that post). In that post I focussed on eyeliner dots on the outer corner. I decided to experiment with the eyeliner again, but I used it on the inner corner this time. 


This look is - just like the one in this post - inspired by the beach. The blue eyeliner represents the ocean and my orange eyeshadow with gold and yellow spots of eyeliner, represents the sand and the sun.


I used eyeshadows from the Flawless 2 palette by Revolution (click here for the review) and the Salted Caramel palette by I heart make-up (read more here).
My eyeliners are Miss Sporty (click here for the review) and Essence (click here).


I enjoyed playing around with this look, although I would have loved a brighter orange in my inner corner.
What do you think?


Thanks for reading!

Sunday, June 25, 2017

EOTD: Beachy

Summer has officially started. I have been enjoying the sun and the beach lately and got some inspiration for a make-up look from that. Today's look represents the beach and the sea. I created it using the I heart make-up "Salted Caramel" make-up palette.


The gold and the brown on my eyelid represents the sand on the beach and the sun in the sky. The bright blue eyeliner on my lower waterline represents the sea.


Here are two full face pictures. What do you think of this look?


You can find more pictures and see more updates on my Instagram. Some of them don't get featured on here so make sure to check it out! 

Have a lovely day!

Friday, June 23, 2017

EOTD: Dory vibes

Goodmorning! Here I am again with a bit of a crazy 'eye of the day'.
When I moved into my new apartment with my boyfriend, I got my very own vanity. I've never had one before but I've always wanted one so that was very exciting for me.
The last couple of weeks I have been organising all my make-up and going through all my stuff, I realised I forgot some of the products.

For example, I didn't know how many different coloured or glitter eyeliners I had. I was immediately inspired to do something crazy. I created an eyelook with one pop of colour (the yellow winged eyeliner) and placed teal, blue and purple dots all around it.


This look reminds me of Dory from Nemo a little bit. It isn't something that I would wear to a job interview, but it's fun to experiment every once in a while.


What do you think of this look?
Thanks for reading! 


Monday, May 8, 2017

EOTD: Flawless part 3

Happy Monday! How have you been?
I'm back with another make-up look that I made using the Original Flawless palette by Make-up Revolution.
This will probably be one of the last looks I make with the Flawless palette.
Next week I'll start doing make-up looks using the Flawless 2 palette, which I haven't used for a look yet so that's something to look out for!
 
 
Today's look is another "darker", but soft look. I used a taupe eyeshadow in the crease and a chocolate brown eyeshadow in the outer corner of the crease to darken it up. After blending, I used two shades of shimmery silver. The lightest shade in the inner corner of my eye and the darkest shade in the outer corner.
 
Instead of going for liquid eyeliner, I decided to go for pencil eyeliner. I smudged it out a little bit and applied mascara as a last step.
 

Thanks for reading!
I'll see you soon!